A burst supply line can affect far more than the unit where it starts. Water can travel behind walls, beneath flooring, and into neighboring apartments or commercial suites before the visible damage tells the full story. Knowing how to document water damage immediately gives property managers and building owners a clearer path to protect occupants, preserve evidence, and support the insurance claim.
The goal is not to create a perfect report while the emergency is unfolding. It is to establish an accurate record of the loss before cleanup, demolition, or repairs change the condition of the property. A disciplined documentation process also helps prevent disputes over what was damaged, when it occurred, and what actions were taken to limit further loss.
Start With Safety and Loss Control
Documentation comes after immediate safety. If water is near electrical outlets, panels, equipment, or elevator components, restrict access to the area and contact qualified professionals. Shut off the water source when it is safe to do so, whether that means an angle stop, a unit valve, a riser, or the building's main supply.
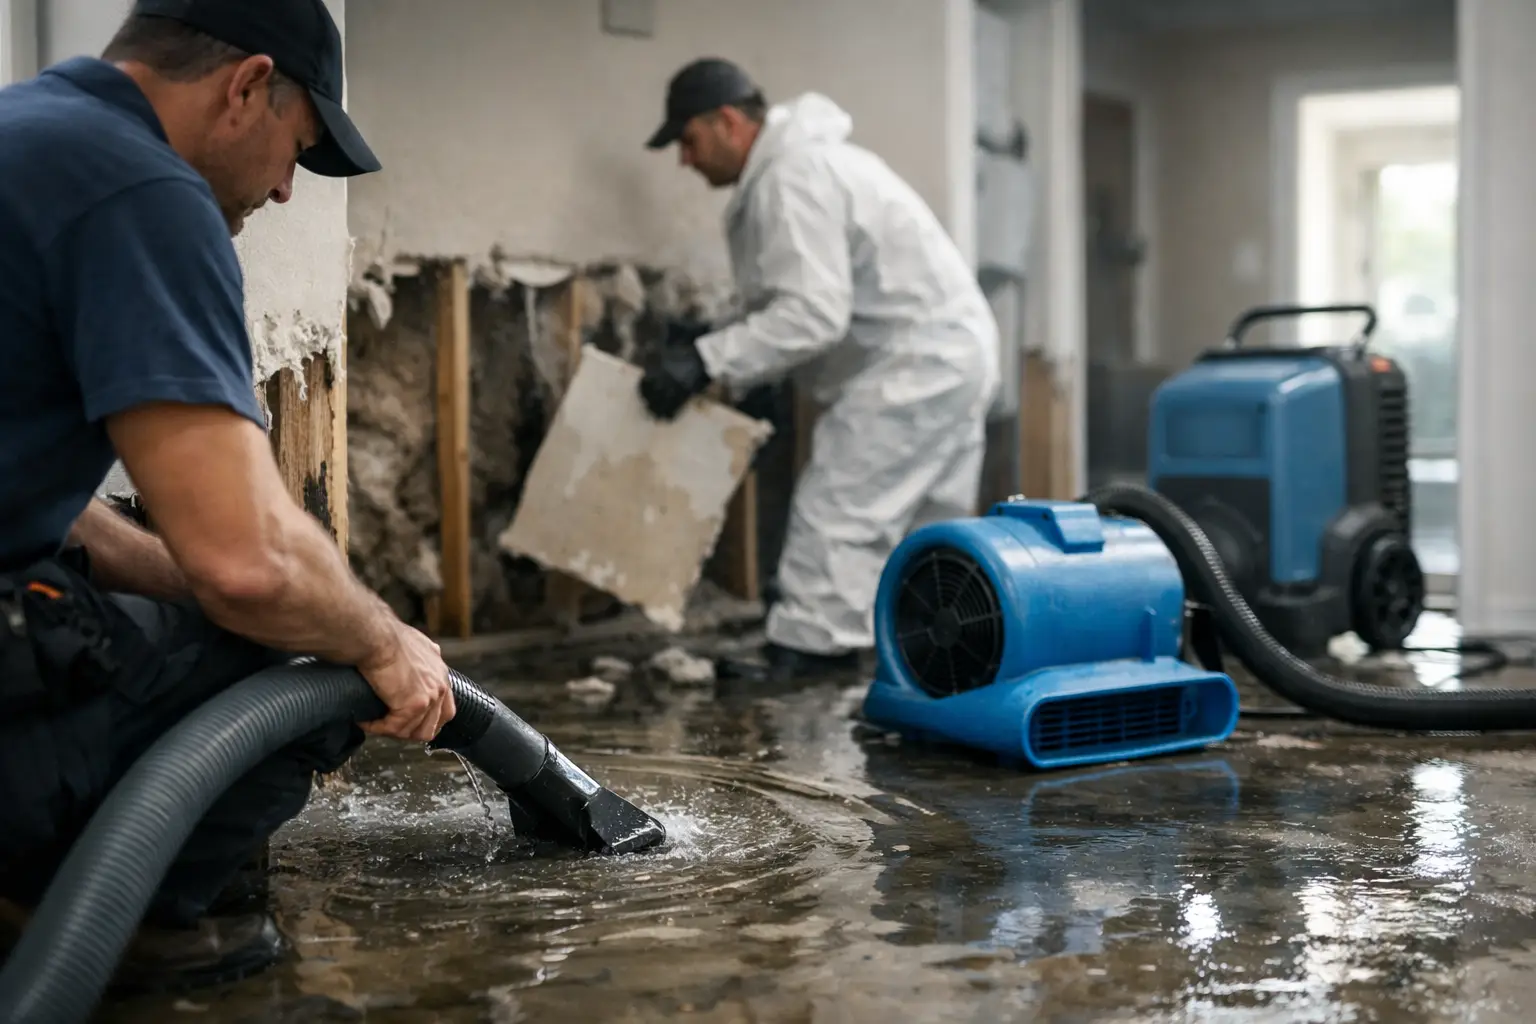
For an active leak, a 24/7 emergency response team can help extract water, stabilize affected materials, and begin moisture monitoring. Fast mitigation is not only a practical property-protection measure. It also demonstrates that the owner or manager took reasonable steps to prevent the damage from spreading.
Before moving furniture, removing wet carpet, or opening walls, capture the condition of the space. If emergency work must begin immediately, take a quick set of wide photos and video first. Even a few minutes of early documentation can make a meaningful difference later.
How to Document Water Damage Step by Step
Begin with a record of the date, time, location, and suspected cause. Be specific. “Water damage in Unit 204” is less useful than “water observed at 7:15 a.m. beneath the kitchen sink in Unit 204, with moisture extending into the adjacent living room and ceiling staining reported in Unit 104.”
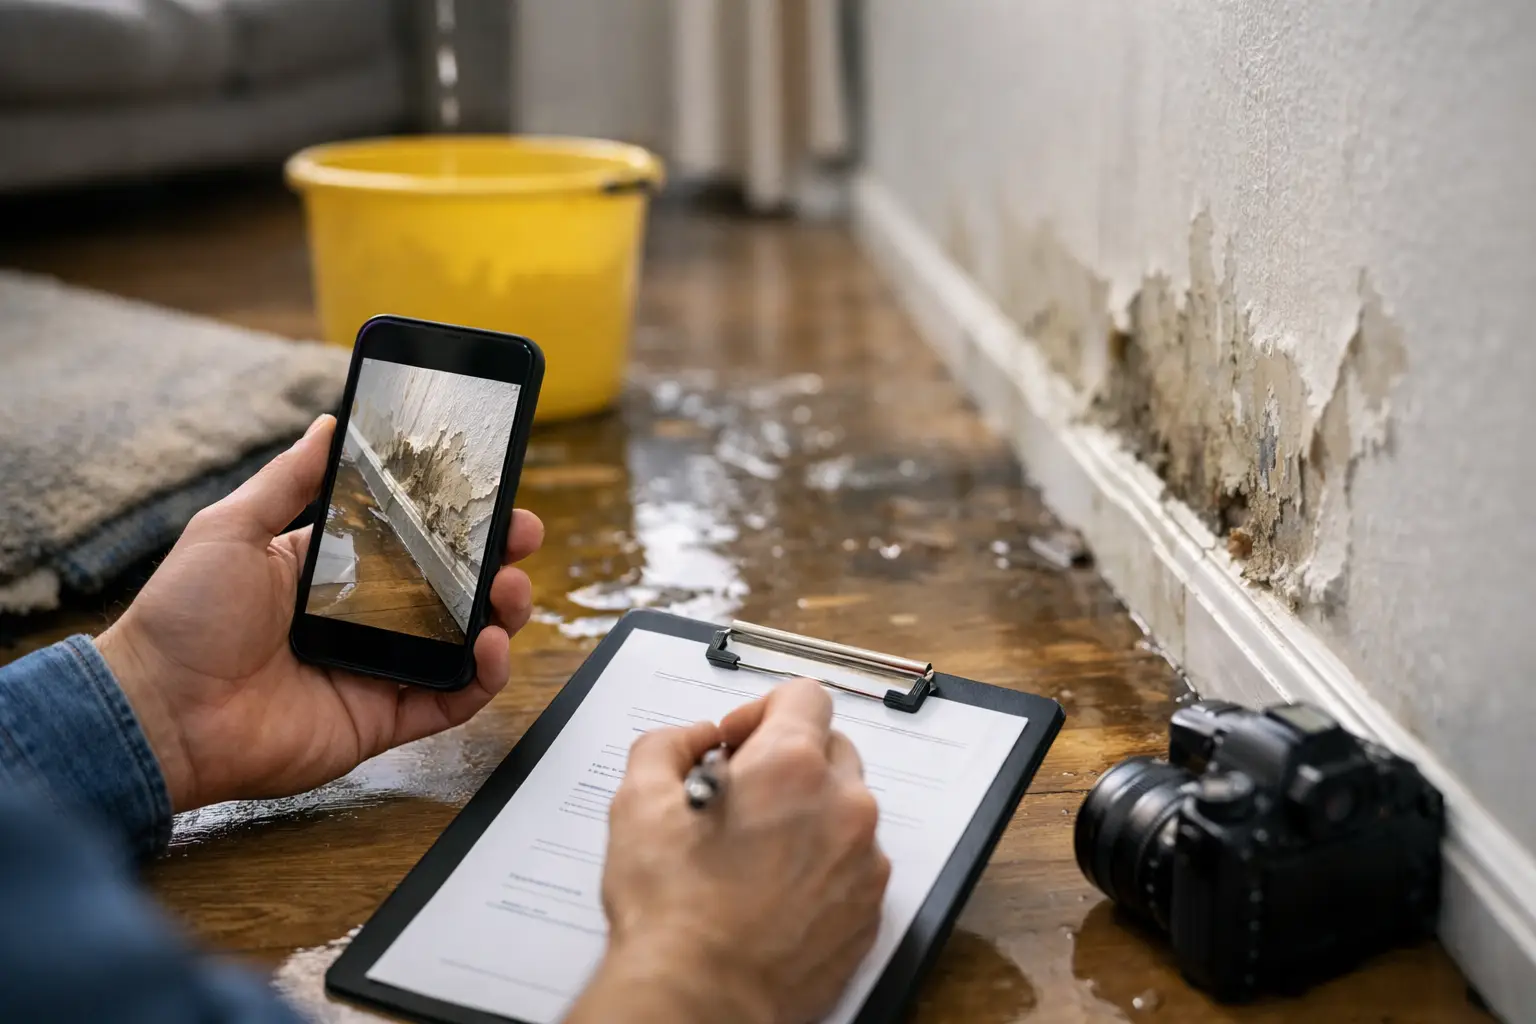
Use your phone or camera to photograph and video every affected area. Start wide to show the room and its relationship to doors, windows, appliances, and shared walls. Then take medium-range images and close-ups of damaged materials, standing water, staining, warped flooring, wet baseboards, damaged contents, and the apparent source.
Keep the original image files whenever possible. Their timestamps and file details can help establish the sequence of events. Avoid filters, edits, or annotations that alter the image itself. If you need to identify an area, add that information to a separate photo log.
A short video walkthrough is particularly useful in a multi-unit property. Narrate the unit number, room, time, and visible conditions as you record. Move slowly enough for the footage to show water pathways, ceiling damage, affected furnishings, and any conditions that may create a safety concern.
Photograph the Source and the Spread
The source matters because it can affect repair planning and insurance coverage. Photograph the failed supply line, overflowing fixture, roof penetration, appliance connection, drain backup, or exterior intrusion if it can be safely accessed. Do not disassemble plumbing or discard failed parts until the insurer, restoration contractor, or qualified investigator has had an opportunity to assess them.
Then document how far water traveled. In multi-family buildings, that can mean the unit below, adjoining units, common hallways, storage spaces, electrical rooms, or parking areas. Water does not always follow the most visible route, so record both confirmed damage and reports of possible migration that require inspection.
Create a Written Water Damage Log
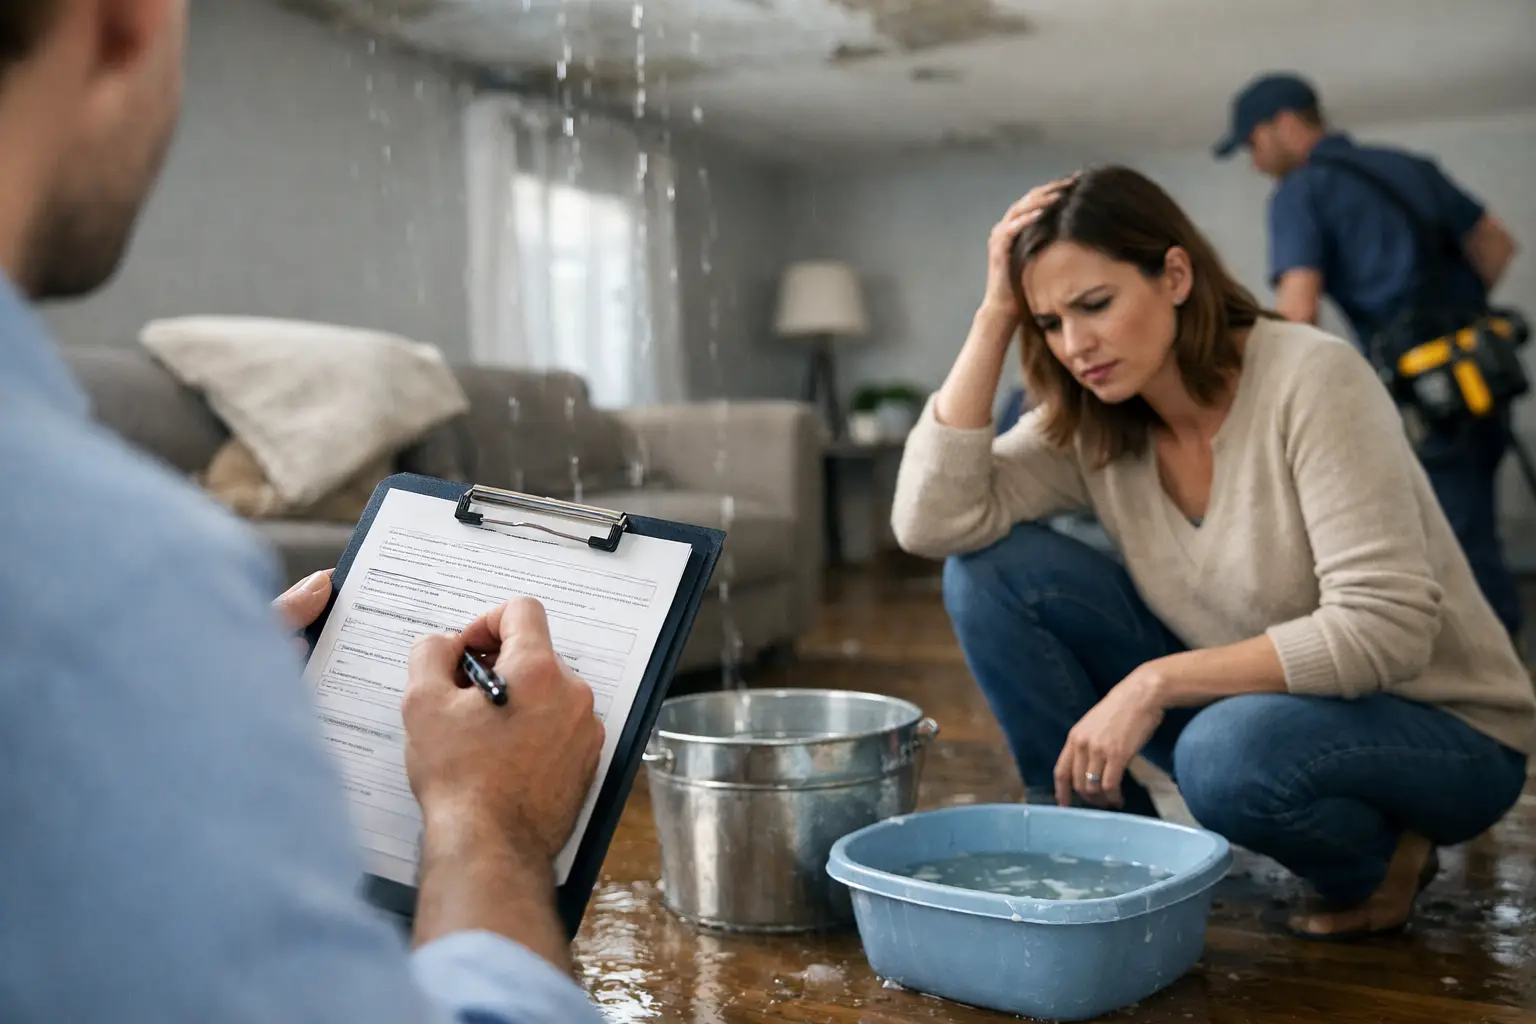
Photos alone do not explain the full response. Maintain a simple chronological log from the first report through stabilization and repair. It should identify who reported the issue, who was notified, what was observed, and what steps were taken.
For each entry, include the date and time, the person making the entry, the location, and a factual description of conditions. Record calls to tenants, vendors, maintenance personnel, insurers, and adjusters. Note when water was shut off, when extraction began, when equipment was placed, and when access was granted or denied.
Keep the language neutral and factual. Avoid guessing at the cause or assigning fault before the facts are confirmed. For example, write “water was observed beneath the dishwasher” rather than “the tenant caused the dishwasher leak.” Clear facts are more useful than early conclusions.
Document Damaged Building Materials and Contents
Separate the building damage from tenant or business contents. For property managers, this distinction keeps the file organized and helps clarify which items may fall under the owner’s policy, a tenant policy, or a commercial occupant’s coverage.
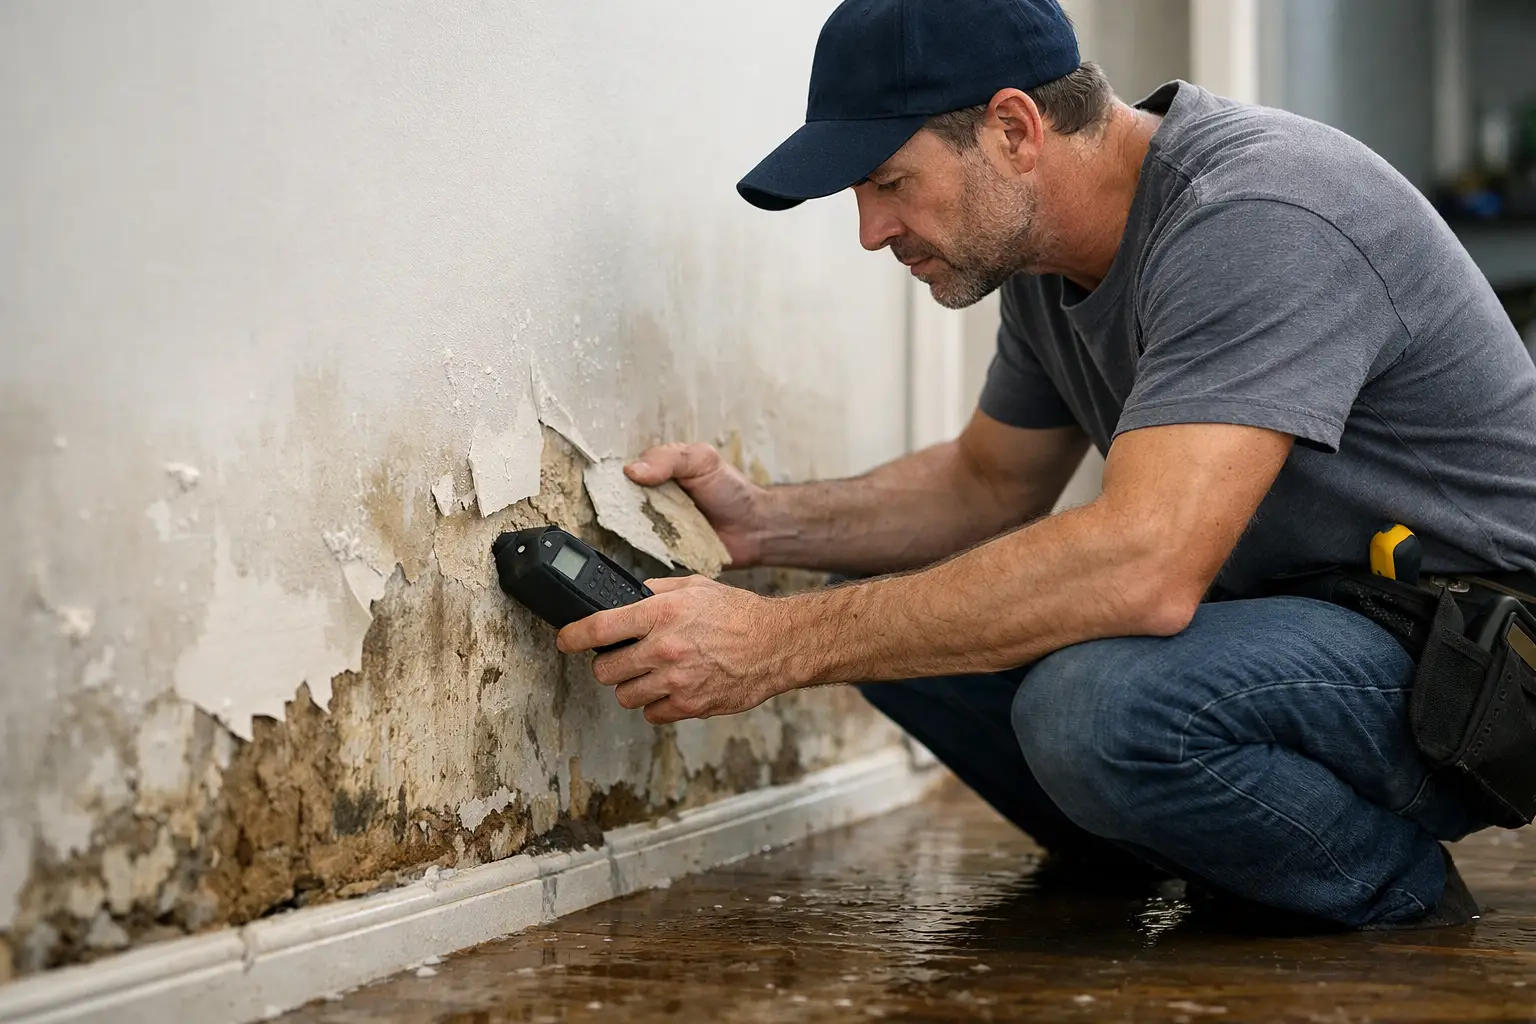
For building materials, document flooring, drywall, insulation, cabinetry, baseboards, doors, ceilings, paint, plumbing components, and electrical elements. Include measurements where practical. A photo of a moisture meter reading can support the scope of affected materials, but it should be paired with the location and date in the written log.
For contents, photograph each item before it is moved or disposed of. Capture identifying details such as labels, model numbers, serial numbers, and visible damage. Tenants and commercial occupants should be encouraged to create their own inventory and communicate directly with their insurance carrier when appropriate.
If materials must be removed for safety or drying, document them first and retain samples or failed components when advised by the insurer or restoration professional. This is especially relevant when the source is disputed or when a plumbing failure may require further evaluation.
Preserve Invoices, Reports, and Communication
A complete claim file includes more than images. Save emergency service invoices, drying logs, moisture readings, inspection reports, repair estimates, plumbing reports, equipment records, and receipts for temporary protective measures. These documents show both the condition of the loss and the reasonable cost of responding to it.
Store emails, text messages, and call notes in one case file. For larger properties, use a consistent naming system that includes the property name, unit number, date of loss, and document type. This makes it easier for an asset manager, adjuster, board member, or restoration contractor to locate information without sorting through disconnected messages.
Do not wait until the claim is delayed to organize these records. A clean file helps the insurance carrier understand the timeline and allows decision-makers to approve necessary work with greater confidence.
Work Carefully Around Cleanup and Repairs
Water damage restoration often requires quick action, but cleanup can erase evidence. The right balance depends on the type of loss, the extent of contamination, and whether the source has been confirmed. Clean-water supply leaks may allow for a straightforward stabilization process, while sewage backups or contaminated water require more controlled handling and stricter safety measures.
Before demolition begins, request documentation of affected materials and drying conditions. During mitigation, daily moisture readings, equipment placement records, and progress photos can help demonstrate why certain materials were dried, removed, or replaced.
Be cautious about authorizing cosmetic repairs before the affected area is properly dried and inspected. Closing a wall or installing new flooring too soon can trap moisture and create a larger maintenance issue later. For HOA boards and commercial owners, that risk can extend beyond one unit and affect the long-term condition of the asset.
Common Documentation Mistakes to Avoid
The most common mistake is waiting until after cleanup to take photos. Another is documenting only the obvious damage while missing adjoining spaces where moisture may have traveled. Managers can also create avoidable claim friction by relying on verbal updates rather than preserving written notes and vendor reports.
Avoid throwing away damaged components too early, particularly failed plumbing parts or appliance hoses. Do not sign off on a repair scope you do not understand, and do not assume visible surfaces tell the whole story. A dry-looking wall or floor may still contain elevated moisture that requires professional assessment.
Finally, keep your records consistent. One accurate timeline, supported by original photos and professional reports, is more persuasive than scattered files gathered weeks after the event.
For Southern California property professionals, water losses move quickly and so should the response. A trusted general contractor with emergency restoration experience can help stabilize the property while providing the organized documentation needed for the next decision. The best time to build that process is before the next leak turns into a vacancy, a tenant concern, or a larger claim.